New and refurbished ideas for LDS Primary Music Leaders (a.k.a. Primary Choristers)

Sunday, July 29, 2012

OH, WHAT DO YOU DO IN THE SUMMERTIME?


Three of my most wonderful grandchildren
Oh, what do YOU do in the summertime,
when all the world is green? 
Well . . . not as much as I would like to.
But I did have a fun weekend with my grandkids!
We had a Nana and grand daddy sleepover with our grandkids this weekend. Can I just say that grandchildren are the BIG REWARD
after surviving raising your own kids.
{{{{{GIGGLE}}}}}} 
SHHHHHHH! Don't let my kids know I said that.


Now with it being well into summertime,
you need to pull this song out for Primary if you already haven't.
It's a good ol' classic. 
"Oh, What Do You Do in the Summertime?"
is a song that
<<<<<SCREAMS>>>>>
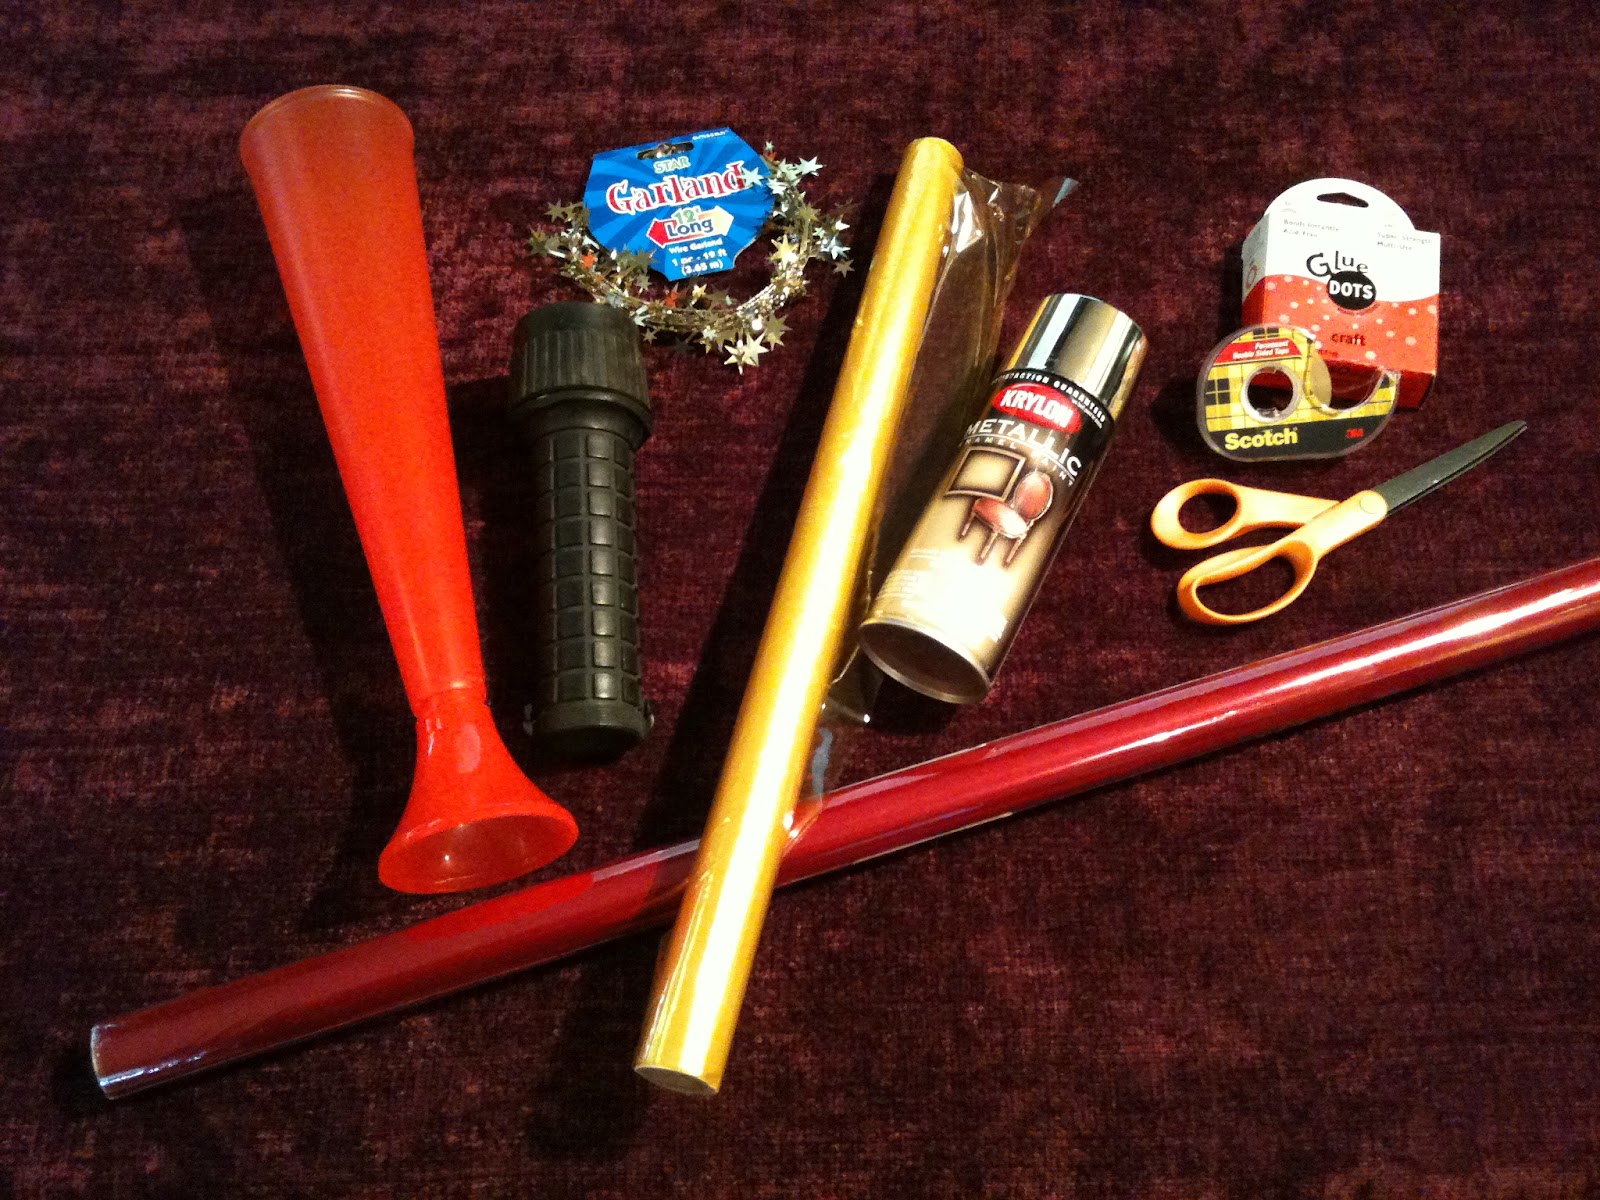
out for using props to help teach it and of course, let the children follow along doing the obvious actions. Here are my grandkids being great sports hamming it up with my spur of the moment idea for them to help me out with demonstrating the song
with the props I use. . . .just before we did some slip 'n sliding.


OH, WHAT DO YOU DO IN THE SUMMERTIME
ACTION: "What?" 

WHEN ALL THE WORLD IS GREEN
ACTION: Make a world

DO YOU FISH IN A STREAM?
PROPS: Little hat and fishing pole
ACTION: Pretend to cast a fishing pole and reel a fish in

OR LAZILY DREAM ON THE BANKS AS THE CLOUDS GO BY?
PROPS: Hawaiian shirt, sunglasses, cloud
ACTION: With fingers interlocked together, place them behind your head
like you are laying back and sway head side-to-side while looking up at the "clouds"

IS THAT WHAT YOU DO?
ACTION: Point to others

SO DO I!
ACTION: Point to self

DO YOU SWIM IN A POOL, TO KEEP YOURSELF COOL
PROPS:Swim arm bands and/or towel
ACTION: Make swimming actions with arms

OR SWING IN A TREE UP HIGH?
PROPS: With a marker, draw a tree shape on green poster board or
4 pieces of green card stock that have been taped together.
Cut the tree shape out along with a hole in the center for the face.
Laminate for durability if you want.
ACTION: Swing hips and arms side-to-side

DO YOU MARCH IN PARADES
PROPS: Flag and or parade type hat
Could make a paper hat—here is a link on how to make one
ACTION: March

OR DRINK LEMONADES
PROPS: Drink cup with straw. Could add some plastic or real lemons in the cup.
(In Primary the child would be standing up holding the cup)
ACTION: Pretend to drink lemonade.

OR COUNT ALL THE STARS IN THE SKY?
PROPS: A fun foam visor with fun foam stars cut out and glued to it
and/or could make a wand with a star on it to count with (make it
from a dowel, a star cut out of thick paper or card board and glitter—
or you could probably pick a star wand up from the $ store or if you have
a little princess in the house, I'm sure you have one floating around.)
ACTION: Pretend to count the stars in the sky

Close up of the cloud.
Cut a cloud shape out of card stock, poster board or cardboard.
Glue cotton balls or batting all over the front and back of it.
Punch a hole in the top of the cloud and tie a string to it.
Tie the other end of the string to a dowel.

 Hope you are having a great summer!!!!!
 

Friday, July 27, 2012

PRIMARY SINGING OLYMPICS: SUMMER GAMES

Of course with the Olympics starting this week, you can't help but think about doing a Primary Singing Olympics. A couple of years ago I had worked on a winter Olympic version, but I think I got sick and had to scratch it . . . so I'm excited for another chance. I have seen a variety of ideas over the years for doing an Olympic Singing Time and have borrowed from the many great ideas out there as well as I have added many of my own twists and turns to it as I am most often inclined to do. This is pretty simple to do and I think it will be a fun way to review the program songs. With it being the 5th Sunday of the month, I do have the whole Singing and Sharing Time, but this can be adapted for a regular Singing Time or you could even take a couple of weeks to do it.


You can't have a Primary Singing Olympics without a torch, so I plan to start off bringing my torch out with a quick blurb about the Olympics and how hard these athletes work for years to come and perform at the Olympics and then tie it in with how hard we have been working on the songs in preparation for the Sacrament Meeting Program. 


Of course, we have to have the all important 
Torch Relay, so I will have the lights turned off while my torch is lit while we sing the song (I will also have a battery powered lantern for an extra light source since our Primary Room is quite dark with the lights out—and don't forget a light for your pianist) and as we sing the song standing up, the children will respectfully and reverently pass the light to each other down the rows. The last child will bring the torch back up to me and then I can set it on the table in its base.


Ignore the garland in the picture. I decided not
to add it to the torch but do if you want some sparks.
Red and yellow cellophane wrapped and pleated
around the head of the flashlight. 
The torch was pretty easy to make with found objects around the house. This is how I made mine with what I had. Revise with what you have.

  1. Unroll about 14" of the yellow cellophane roll and cut off.
  2. Tape about a 1" piece of double-sided tape to the base of the head of a flashlight and adhere one end of the cellophane to the tape on the flashlight. Then make a pleat and tape it down.
  3. Continue taping the cellophane down on the flashlight head and pleating as you go around the flashlight. This will help to puff out the flame a little so your flame doesn't look like a column of fire.
  4. Make some small snips in the top to give it some small flames. You should be able to still unscrew the top of the flashlight from the handle in case you need to put new batteries in.
  5. Unroll and cut off about a 12" strip of red cellophane and cut out some triangle-shaped flames along the cut edge. Be careful because these can tear off easily. Had to fix a couple that tore on me.
  6. Tape and pleat the red cellophane around the flashlight head like you did the yellow cellophane. You could use tissue paper if you don't have any cellophane, but cellophane will let the light show more, but then again, you don't even need to use a flashlight. You could just use a paper towel tube.
  7. Leave the flashlight handle as is or wrap gold paper or foil around the handle to give it a more torch-like look and you are done OR
  8. Instead of wrapping it in gold paper, put the flashlight in a gold, tall, plastic drink cup. I stopped in the $ Store several days ago when I was running an errand in the same strip mall and I happened upon a tall cone-shaped drink cup there that would be perfect for the torch. I was sooooooo trying to figure out something that would hold the torch upright on the table and this had a base at the bottom that would do it perfectly and I can pull the base off if I want to when I am holding it like a torch. I was so excited by the cheap find. I just spray painted it with some leftover gold paint I had on hand—less than 5 minutes. TIP: put it on a stick while you paint so you don't get paint on your hands.
  9. With the cellophane flames on the flashlight, just turn it on and drop it into the torch cup and voilà!  An Olympic Torch! It does look pretty cool with the lights off.
Singing Sport Sign Example


I will have my Primary Singing Olympic sign posted at the top of my board (pictured at the top of this post.) If you want the Olympic sign a little bigger, you could print that page in poster format on two or more pages. I did mine on two pages. Then I will have my Singing Sport Signs for the different sports posted on the board underneath it. The link to all the files I made are posted below. I will have a child pick one of the sports and we will sing the song assigned it while doing the "sport" activity. You could also just post the signs in the order you want to do them in and proceed in that order. I have to admit that I kind of got carried away during my brainstorming session when I was going through the list of sports that are in this year's Olympics and trying to think of names for the sports and activities. I did some "singing" word play on the sport names. I know the kids may not get them all, but the teachers might think they are fun and I had fun thinking of them. During my brainstorming, I ended up with WAAAAAAAAAAAY more sports than you will ever do for your singing time and I created signs for each one as well, so at least you have quite a variety to pick from. Just select the singing sports activities you want to do for the time you have. I've also attached a key sheet file for the sports and songs. Just select which sports you want to do and write in the songs you want to do on the key sheet. You could even just write what the song is and activity on the back of your sign if you don't want to refer to a key sheet. Don't forget to take any items/props, if needed, for each sport activity you have chosen. I've tried to keep the props simple to none. If there are any props needed, I've listed those items in each section on the key sheet.  Here is a list of the songs and sport activities that I am thinking of doing:


TORCH SONG RELAY: If the Savior Stood Beside Me
RHYTHMIC RIBBON: When I Am Baptized
SYNCHRONIZED SINGING: Nephi's Courage
SHOT PUT IN ORDER:  Choose the Right
ARCHERY ARTICULATION: The Wise Man and the Foolish Man
TENNIS WORD: Dare to Do Right
SAILING SERENADE: As a Child of God
TRAMPOLINE TRIPLE TIME:  Stand for the Right
VOLLEYBALL VIRTUOSO:  I'm Trying to Be like Jesus
MOUNTAIN BIKE MEDLEY: Stand for the Right and Dare to Do Right Medley


Probably won't have time to do all 10, but I'll be prepared just in case with the last two.


I tried to use most of the actual olympic pictograms for the signs but many of the sub-categories didn't have any, so I just created my own, so many are not the official pictograms in case you were wondering. Although I don't care for the Olympic font London chose, I used it anyway for a more authentic look.  I tried to do a variety of "sport" activities; however, don't expect them to be these big running, relay type of sport activities for the children to do. I find too much playing around type activities make it difficult to keep some semblance of reverence as well as the children get too busy "playing" instead of singing, so I try to select activities more conducive for singing that the children enjoy doing but still gives them some movement, variety and a challenge. There are a few more "sporty" events on the list just in case you want to throw in one or two for a moment or two of added play time.


I also plan to have someone be a judge; maybe one of the presidency members or maybe take turns having the teachers help judge. This is optional, but kids seem to like to perform well when they are being watched. I will give the judge three paddles: GOLD MEDAL, SILVER MEDAL and BRONZE MEDAL. They are the big medals in the file that I have cut out and attached to tongue depressors. If the children sing the song/verse well, the judge will hold up the GOLD MEDAL after they sing. If they sing okay but the song still needs some work, then the judge would hold up the SILVER MEDAL paddle. If we could really use a bit more work on the song, then the judge would hold up the BRONZE MEDAL paddle. Oooooo, I sure hope we don't earn too many bronze medals!


If the song has more than one verse, I plan on only having them sing the first verse then stop to be scored by the judge, then sing the second verse, stop and be judged and so on. Whatever paddle the judge holds up, I will put up a smaller version of the medal next to the Singing Sport Sign. So, if there are three verses to a song, there should be three medals next to that sport sign when done to reflect how we did on each verse. This will be a fun and incentive way for everyone to see how many gold, silver or bronze medals they have earned as well as it lets you know what needs more work. I've included in the file all three versions of smaller medals as well as a black and white version if you would prefer to print on colored paper instead of in color or print on white and just color them in. Just print and cut out how many scoring medals you might need for the number of songs/verses you plan to sing.


I haven't brought a treat all year, but I decided to for this activity because you just can't have an Olympic event without a medal, so of course I've done the obvious GOLD CHOCOLATE COIN that I hot glued some blue curling ribbon to. If you don't want to do an edible treat, I've included little gold medals that you can print on gold card stock, punch out and tie curling ribbon or yarn to make a gold medal.


Another gold medal option would be is to wrap a cookie in gold foil and then glue ribbon or yarn on it.


Hope you have some
OLYMPIAN SINGING FUN!!!

Primary Singing Olympics—Nalani


Primary Singing Olympics Key Sheet-Nalani

Saturday, July 21, 2012

PIONEER CAMPFIRE SINGING


I guess I could have spent a little more time tucking in the tulle better
before I took the picture. I promise to make it look better for the kids.
I love to go  camping; albeit, in my 31 1/2 years of marriage I've evolved over the years from camping in tents and using the great outdoors as my lavatory (way before there were campsites with restrooms) to a comfy, cozy 5th wheel with indoor plumbing and a king-sized bed I grew accustom to from home living. I figured I did my time all those many rough camping years, I finally should be able to enjoy a little less roughing it now.

One thing I do love when I'm camping that no trailer can replace is sitting around a campfire with my family singing songs. So hey, why not bring a campfire to Primary? I did this once before a while back and the kids loved it. It was something different and interesting to do and it is a wonderful way to sing all those pioneer songs. Singing just sounds so much better around a campfire, don't you think? And what could make it even better I ask? How about a guitar?!?! I discovered a few months back that my pianist dabbles a little with the guitar. Now how cool will that be singing pioneer songs around a campfire to the musical strums of a guitar? Campfire singing can't get better than that.

HOW TO MAKE THE CAMPFIRE
Making a campfire is pretty easy to put together and cheap since you probably have most of this stuff around and outside your home. This is how I make minePut the campfire together in the order I've listed the items below.
  • A large piece of cardboard to build the campfire on. This is optional, but it does make it easier to build the campfire ahead of time on it and then all you have to do is drag it out to the middle of the floor when it is Singing Time; otherwise, it would take too much time to build it right when it is time to sing.
  • A piece of brown fabric to place over the cardboard to help give more of a dirt feel. My heavy duty cardboard is white, so if your board is brown, that can look like dirt on its own just fine.
  • Rocks (they grow in my yard): enough to make a small, loose enclosure for a campfire. Don't want to haul more rocks than you have to.
  • Christmas twinkle lights. I have a set that has about 7 different twinkling options on it. I like the wave and the sequence options for the most authentic campfire flicker.
  • About 1 1/2 yards of red tulle and 1 yard orange tulle. If you just want to use one color, red of course is the way to go. Tulle is pretty cheap at about $1.50 per yard—even less if you have a 40% or 50% coupon.
    • Circle the red tulle along the inside of the circle of rocks with an opening in the center and the cut edges of the fabric up. Tuck a little under the edges of the rocks so it doesn't fluff out so much over the rocks, like in my picture above.
    • Place the orange tulle in the center of the red tulle with the cut edges of the fabric up.
  • A few small logs: I use the dried limbs we cut from our apple trees. BTW, dried wood from fruit trees I've discovered doesn't smoke as much in campfires—just a helpful camping tip. It is probably the harder wood.
  • Pull up the cut edges of the tulle and arrange through the logs to help make it look like some flames. It is hard to see the "flames" in the picture above.
  • Extension cord for the lights—make sure it is long enough to reach the plug from where your campfire is.
  • ox 5-gallon bucket to haul it all in or some other container.
  • And there you go. Just drag your fire out and plug it in when it's singing time.
As I mentioned in the Wagon Wheel Spinner Post, I'm going to do double duty and bring my spinner also for a way to pick the songs. I'll also share some little fun facts about pioneers. See the key sheet from the Wagon Wheel Spinner for the Fun Facts. So yeah, combining two BIG different things together, I think I will need my handcart to help me haul all this stuff to Primary. I think this will be the most stuff and the heaviest I will have hauled in for singing time. I'm sure my husband's eyes are rolling to the back of his head at the thought of this. I'm sure I'll have to massage his poor aching muscles afterwards. 

Of course, with the campfire you have to sing at least one song with the lights out. The kids will surely be disappointed if you don't. So, make sure you bring in some extra light if your primary room gets pitch black like mine does without any windows because the twinkle lights probably won't give off enough of a glow for the room. Don't want to frighten those young'uns. I will bring a battery powered lantern and a handheld tripod flashlight that I can stand up on the piano for the pianist to use.

And don't forget to wear your pioneer apron and hat!  I get too hot with the hat on, so I just let it hang down my back. An apron is rather easy to make. Here are some Pioneer Trek patterns for a bonnet and apron if you are interested in making them sometime.


WAGON WHEEL SPINNER

I know many of you probably have your Sunday planned, but if you are still looking for something to do, here is a fairly easy pioneer singing time to do or save for next time. (Sorry, another busy week with so many family get-togethers on top of the extra work load at work—a great employee from my department was rushed to the hospital for brain surgery for a brain tumor, so I didn't get the chance to post all I wanted to this week.) I still have other visuals for more pioneer songs to post...sometime.


Anyway, if you are really ambitious, you can make a wooden wheel spinner that I just posted about here to use with the wagon wheel or if you only have a little time to prepare, you could just draw and use the poster wagon wheel or...you say you have no time at all? Well then, just print and cut the pictures in the file and post on the board or let the children pick from a container.


I did this last year, but with the very busy week I've had, I'm pulling it out this year again, but with a few changes. I'm also going to combine it with the 
Campfire Singing I did another time.  I'll try and post the campfire singing next. I've seen many variations of wagon wheel singing over the years that others have shared. The two main sites I've gleaned from are here and here. This is my compilation of those great ideas along with some changes here-and-there.


HOW TO MAKE THE WAGON WHEEL
  • On a poster board, find the center by drawing a light line down the center from top to bottom and and another line from side to side. Then draw 2 more lines in the center between the 2 lines you previously drew to give you 8 pie shapes.
  • Make a handmade compass of string tied with a pencil on both ends (the length of the string between both pencils should be just slightly less than half of the smallest width of your poster). Place one pencil on your center mark and pulling the other pencil with the string taut, draw a circle around the poster.
  • Untie one of the pencils and then retie it back on about 1 1/2" shorter and redraw another circle for the inside of the wagon wheel rim.
  • For the axel circles, just use a small bowl, a glass or some other circular objects to help draw them or reduce the string length on your hand made compass to make the circles. I think I just eyeballed the inside of the axle circle. The axel is about 3 3/4" and the inside circle is about 5/8" in from the outer circle.
  • The spokes are about 1" wide. I just drew a line 1/2" on either side of each of the pie shaped lines then erased the middle line.
  • I colored mine in with chalk since I like how I can fill it in fairly quickly and blend it. I also like how I can erase any boo-boos if I happen to go over the lines. You can use crayons or markers or whatever takes you to your happy place when you color. If you use chalk, make sure you spray it with a FixIt spray to set the chalk so it won't rub off after you do the next step with the Sharpie pen.
  • With a brown Sharpie pen, outline your wagon wheel and draw in some squiggly lines for the wood grain.
  • Mounting the wagon wheel to the spinner (optional):
    • See the 2nd paragraph under the "OH NO!" in the previous post on making the spinner for the placement of the hook side of the Velcro. 
    • Cut four square pieces of the loop side of Velcro. Leaving the protective liner on the adhesive side of the Velcro loop pieces, connect the loop side to their counter hook parts on the spinner placing one at the top, one at the bottom and one on each side of the spinner.
    • Remove the protective liner from only one of the Velcro loop squares and carefully place your wagon wheel poster centered on the spinner and press to adhere the Velcro to the wagon wheel poster lining up the spokes with the nails. Repeat removing one of the protective adhesive liners at a time. This will help to only have to fix one section if you place your poster crooked instead of all four pieces of Velcro. 
  • Print, cut and laminate the pioneer pictures from the file below. There are 10 pictures but only 8 spots on the wheel which is usually enough to fill the time. The extra pics are just some added options to pick from or if you need a couple of more songs to sing. There are also two versions of a campfire. I couldn't decide at the time I made this which one I liked best so I kept both since I had an empty space to fill anyway. Pick the one you like.
  • Place a square piece of Velcro hook side to the center between each spoke on the wheel poster.
  • Place a square piece of Velcro loop side to the backside of each of the pioneer pictures.
  • Place the pioneer pictures on the wagon wheel spinner and you are ready to go.
HOW TO PLAY
  • Select 8 pioneer pictures and mount on the wheel.
  • Have the child spin the wagon wheel (or pick a picture if you are not using a spinner) and whatever it lands on or is picked, remove the picture, share the Fun Fact and sing the song according to the picture. 
  • Whenever a child spins the wheel and it lands on a blank space where a picture has been removed, let another child take a turn to see if they can spin and land on a picture. This allows for more spins on the wheel. If time is short and it lands on a blank, just do the next closest picture.
  • I've attached a key sheet file. The first half is an example key sheet of what I plan on doing and the second half is a blank version to add your songs you would like to do. There are the 10 options to choose from on the key sheet but you will only need to select 8, because like I said, you'll probably be lucky if you even get all 8 on the wheel done in your 20 minute time especially if you end up singing some of them twice like I tend to do on newer ones or the more unfamiliar ones that they may stumble—mumble through the first time singing it.
HERE ARE A COUPLE OF OTHER IDEAS IF YOU DON'T USE THE SPINNER

  • Have the pictures placed around the room for the children to select from.
  • Use objects like toys and stuffed animals to represent the items and place in a box or basket for the children to select from.
Pioneer Wagon Wheel Ways to Sing Key Sheet-Nalani

WHEEL GAME SPINNERS

Who doesn't like the thrill of spinning a wheel in a game and watching it go round-and-round in bated anticipation of where it will stop?????


Wheel Spinners
are wonderful ways to determine how to do something, how many moves you get, what your score can be, etc. So hey, it sounds like a perfect thing to us in Singing Time since singing games are a fun way to add variety to singing time especially for those choose and review times.


I'm sure many will not want to go through the effort in making the following type of spinning wheel, but if you have the desire and are able to, you and your Primary will surely enjoy it. There are other less involved ways to do spinning wheels if this seems a bit much. I'll give a few options later.  


Here is a great tutorial I found that I followed, of course, with a few variations I made to it. Here are some of the things I did differently that worked for me especially to save me time in my hectic schedule.

  • I purchased a precut 24" circle from Lowe's home center. It was made from MDF board. I didn't feel like taking the time to cut the circle out and sand it. You still have to measure for your pie shapes. Not all home centers carry round discs, so you may want to call around first.
  • I didn't have 2x4s, so when I purchased them, I had them cut to size for me at the home center to save me some time from hauling out my table saw and cutting my own and then cleaning up the sawdust just for a few cuts. Normally, I would have done it myself, but it was worth the 25 cents per cut to have them do it (they cut the first 2 for free.)
  • Instead of using the dowels that go around the circle, I just used some finishing nails I had on hand. That was easier and quicker for me. I also put the nails about 7/8" in from the edge since the widest I could make a circle on a poster board is 22" which would then fit perfectly. You could put them closer to the edge, but just don't go in more than the 7/8". Also, to make this more versatile for other games for more choices or points, I used 16 nails evenly spaced around the spinner instead of eight. The picture only shows 8 nails (I added the rest later for another game.)
  • I couldn't find a 3"x3" lazy susan spinner, mine was a 4" size, so I had to drill new guide holes in it for my screws so that it would fit on the 4" width of the 2x4.  (Finished wood you purchase is smaller than its named "raw size".)
  • Although I originally wanted to spray paint mine bright colors, I chose to go with brown since I thought it would coordinate more with many of the games I wanted to use it for, but of course, any color will do.
  • In the pictures I don't have my clickety-clacker flapper thingy on it yet. When I made this quite a while ago, I ran out of time to make it and haven't gotten around to putting it on yet. Although it works just fine without it, there is something to be said about the thrill of hearing the clickety-clack sound as the wheel spins around. Maybe I'll have to get to it today somewhere in-between the other zillion things to do, oh, maybe not, just remembered I have to drive north for a family wedding today. 
  • Because of the original lengths of my 2x4s, I went ahead and made both of the base feet 28" verses one of them being 20".
  • The overall height of my spinner is 5'. Not much shorter than me.  :-)
  • This is pretty sturdy and has held up well. It also has a pretty random spin—doesn't seem to get stuck with landing on the same thing all the time. LOVE IT!

I'm not really experienced in woodworking, so if I can make this, I'm sure you can too. This took me a few+ hours to make with other breaks here and there along with drying time. And yes, I did make a boo-boo or two. TIP: have a helper hold the 2x4s when you have to drill those deep holes down the post so you can get them in straight if you don't have a bench vice or clamps to hold it steady for you.


Of course, I did not want this to only be good for a Wheel of Fortune game.
OH NO!
It wouldn't have been worth it for me to make it for one game. I wanted it to be interchangeable so I would be able to do a variety of games so I use my good ol' favorite Velcro to post different poster wheel games on it. I will post the Wagon Wheel version, that's in the picture, next as well as others I have as I get around to it.


To make it usable for other games, I placed 16 square shaped pieces of the hook side of Velcro around the spinning board centered in each pie shape about 1" in from the nails so they will be hidden behind the poster or visual that is being used. Only some of the spinning games will use them all.  


Yes, the spinner is a bit clunky to carry around, but I'm fortunate to have a very strong manly—man who is always willing to help haul it around for me, not that I couldn't do it myself though—just so you know, I'm not some weak thing, cuz' hey, in this calling, there are no weaklings. ;-)

For now I store it in my guest bedroom since I rarely have many guests anymore with many of my family that have moved back here, but when I am released from this calling and don't need it for another calling or for games with the grand kids, I can quickly unscrew the base and store it under the guest bed.


If this spinner seems like a bit much for you but you would still like to make something similar, here are a few variations. Just adjust to the size you are wanting.


Other DIY Versions:
Lazy Susan Version
Large Wheel
Floor Version


Ones to buy:
Spin Zone Magnetic Spinners (I have one of these I bought at an educational store and it works pretty well. Sometimes they can get a bit out of whack and land in the same place frequently, but you can just remove and replace on the board in a different position or rotate your poster around a quarter turn every now and then.)
Jumbo Magnetic Spinner (looks cool, but a little too pricey for my pocketbook)


Tuesday, July 17, 2012

THE OXCART

Here comes the oxcart,
oh, how slooooooow!
When I first heard this song, I thought what a slow and boring song, but after listening and singing to it a few times and being a little silly as I did, I realized that if you go with the flow of the sloooooooooow—ness of the song and sing it like an ox would, it is rather fun. The kids love to sing this ever so slooooooooowly while singing in a deep voice.

I also like to use a fluted tone block  and fluted rhythm sticks. You tap them on the first beat than slide the stick along the flutes on the second beat and keep repeating that rhythm throughout the song. I have a few children help out playing the instruments. These instruments help to give it a little wooden, creaky feel. If you don't have these rhythm instruments, maybe you could find something fluted around the house or make some sand blocks that can be clapped together then rubbed together on the beat (2 wooden blocks with sandpaper on one side of each block) or just clap a couple of blocks together or maybe you have an old hinge that creaks that you can use, of course, minus the door. ;-)
Another way to sing this song is to first explain that pioneers usually teamed up a couple of oxen together to pull a wagon. They used what is called a yoke to keep the oxen together. Have the children pair up for an oxen team and standing side-by-side to each other, link one of their arms over each other's shoulder to make a "yoke". Have them sway side-to-side to the music as they sing the song. Of course, sing it slowly and in your deep voice for the full effect.


And to top it off, this song is easy to learn to boot.

The Oxcart—Nalani

Saturday, July 14, 2012

THE WISE MAN AND THE FOOLISH MAN REVIEW

This week I plan on doing the review idea I posted at the end of The Wise Man and the Foolish Man Ideas post here. For the blocks, I wanted to use real blocks, but I didn't have any, so I made some paper ones and then I remembered my daughter having some BLOCKS. I posted the paper blocks anyway in case you don't have any blocks, and you want to do something more than written pieces of paper with the scenarios. You could also cut out some shapes from colored paper instead.
In the file there are two sizes: if you want to use the larger blocks and build them on the rock and sands, you will need to put together two of the rocks and do the same with the sands. The smaller set of blocks will fit on a single rock or sand picture without the pillars. The pillars are optional if you want to use more questions or just put them up afterwards for fun. You can just use the blocks; you don't have to build them on the rock and sand. Whatever works for you. (For some reason the file looks like there are lines in the triangle block but when you download it, it isn't there. go figure!?!)

After a wiggle (JR) or warm up (SR) song, I plan on starting out with a quick 1 minute Q&A review of the object lesson from last week and the representation of the rock, sand and floods. Then I will share the scripture Helaman 5:12 (have SR look it up). Then I will go into the review idea of using scenarios taped to blocks in a bag and letting the children take turns picking one out at a time, reading the scenario, deciding if it is a WISE or foolish choice, place the block on the table to start building a house and then singing the wise or foolish part of the song that correlates with the scenario. I will have my wise man and foolish man figures up on the board with my table in front and we will build the houses on the table. At the end as I summarize the principle we've been learning, I'll knock the house on the sand down as I mention how weak we can be when trials come our way if we have not built ourselves upon the strong and firm foundation of Christ.


Because you never know how much time you will have, I think I will not put the pillar blocks in the bag in case we don't need them. If I still have time, I'll just throw them in the bag to pick from after we are done with the other blocks.


Since the kids already know the words to the song and are just familiarizing themselves with the melody, I don't think we need to sing the song as many times as I have scenarios for, so I will add other songs after we have practiced TWMATFM and then have the children tell me what the gospel principle(s) is in the song just sung that will help us follow Christ; building our house upon the rock.


I just discovered that Rena Backstrom did something similar to this a while ago using the parable of the Ten Virgins. Since she already had some scenarios, I decided to use some of hers so all I needed to do was come up with a few more. I also liked her idea on using scriptural examples as well, so I also wrote some of those up. Thanks Rena for sharing. At the end of each Wise or Foolish section is a little list of actions if you don't want to use full scenarios. Here are the scenarios or actions. Just copy and past into a document to print and cut out:


WISE CHOICES

  • Jimmy asked his mom if she would buy him a chocolate bar. His mother said no. Jimmy thought about just taking that chocolate bar from the candy shelf but decided not to.
    •  Was that a wise choice or a foolish choice Jimmy made?
  • Chloe woke up in the dark because she had a bad dream. She decided to kneel down and pray to Heavenly Father asking Him for help to feel peaceful again.
    • Was that a wise choice or a foolish choice Chloe made?
  • Wendy saw Lori crying because some girls had been mean to her. Wendy went over to Lori and handed her a Kleenex and asked Lori if she would like to come to her house to play.
    • Was that a wise choice or a foolish choice Wendy made?
  • Daniel and his friends refused to eat King Nebuchadnezzar’ food or drink his wine because he knew it would not be good for his body.
    • Was that a wise choice or a foolish choice Daniel made? 
  • When a wicked man convinced the king to kill all the Jews, Queen Esther went to the king and told him she was a Jew. She asked him not to kill her people. She did this knowing that she could be killed. Because the King loved Esther, he ordered that no Jews should be killed.
    • Was that a wise choice or a foolish choice Esther made?
Telling the truth
Being Kind
Saying your prayers
Obeying your parents
Going to church
Dressing modestly


FOOLISH CHOICES

  • Mark was taking a math test at school but he couldn’t remember how to do one of the questions, so he looked at his neighbor’s paper.
    • Was that a wise choice or a foolish choice Mark made? 
  • Mary’s little sister took her favorite stuffed rabbit out of her room and Mary yelled at her little sister and told her to never go into her room again.
    • Was that a wise choice or a foolish choice Mary made? 
  • Peter’s mom asked him to clean up his room before he went outside to play. He picked up a few toys but when he looked out the window at the beautiful, sunny day, he decided he didn’t want to finish cleaning his room and went out to play.
    • Was that a wise choice or a foolish choice Peter made? 
  • Nephi and his brothers were trying to get the brass plates from Laban but Laban kept refusing to give them the plates and Laban even took their gold and silver from them. Laman and Lemuel wanted to go home but Nephi and Sam wanted to obey what the Lord had asked them to do and find a way to get the plates. Laman and Lemuel got very angry and beat Nephi and Sam with sticks.
    • Was that a wise choice or a foolish choice Laman and Lemuel made? 
  • There were many people that did not like the things Joseph Smith was teaching about the gospel, so one night a bunch men of dragged Joseph Smith out of the house he was staying in and they hurt him by putting hot tar on him and then feathers.
    • Was that a wise choice or a foolish choice those people did to Joseph Smith?
Telling lies
Cheating
Teasing and making fun of others
Hitting
Stealing
Fighting

I think that is it. Simple but still educational and fun...I hope.


Blocks-Wise Man—Nalani